


Creating diamond art is currently a popular activity, but who will be most attracted to it? Artists or crafters?
As an artist, I’ve been curious about diamond art. I’m always attracted to glitter and bling, so I wondered if I would like either the diamond art process or the resultant product. I didn’t know how it was done, so that was part of its mystery to me.
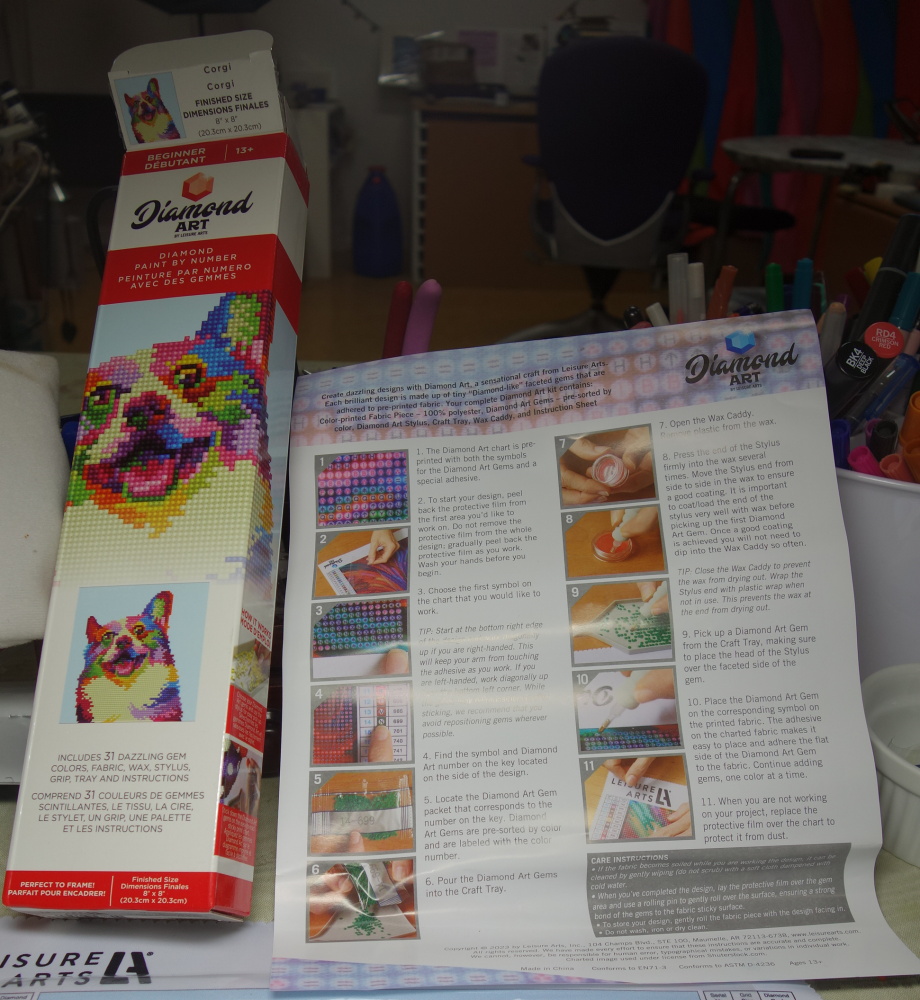
I was recently gifted a beginner-level Leisure Arts Diamond Art kit, so I was able to experience the process and actually produce a diamond art product. As a result, diamond art is no longer a mystery to me.
In case you are also curious about diamond art, and wondering if it is for you, I’ll share with you here what I learned.
Kit Contents
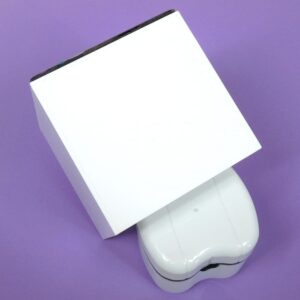
My Leisure Arts beginner kit contained:
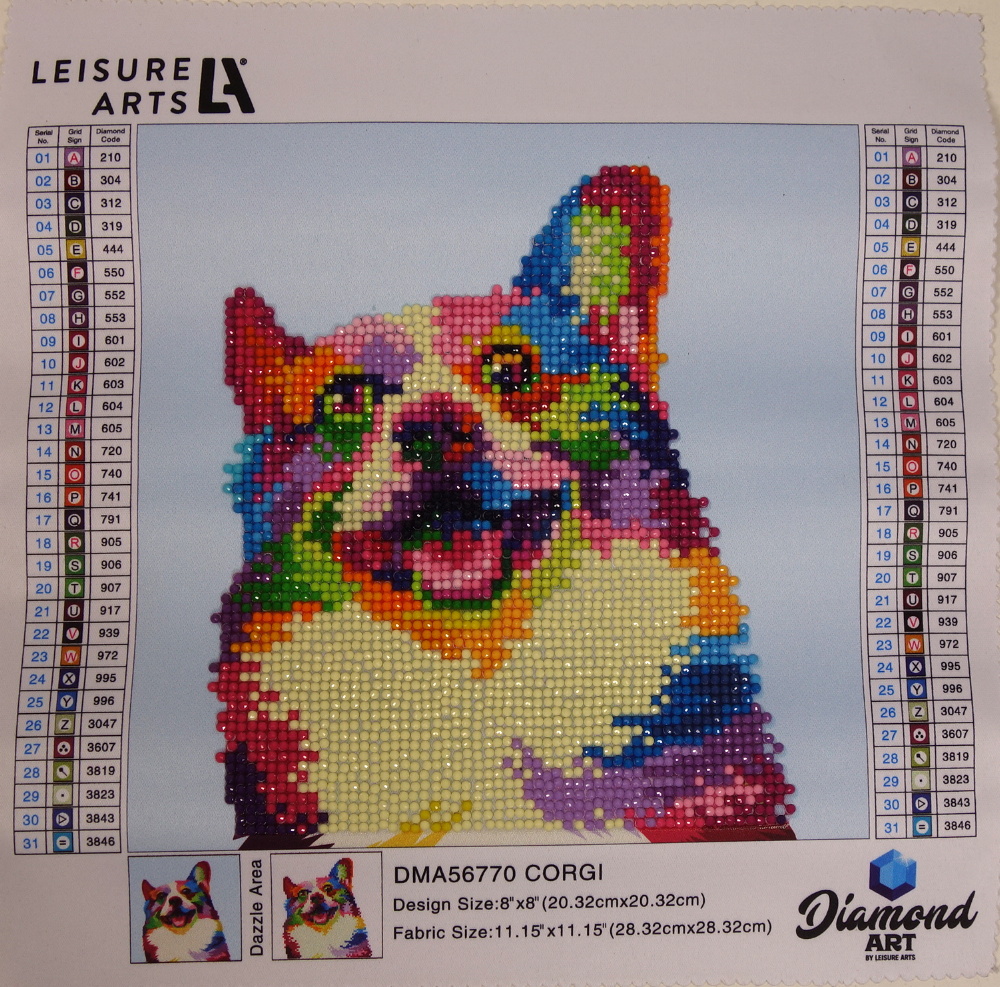
- An 11.2″ x 11.2″ pre-printed canvas with an adhesive-coated area to which the gems will be adhered; a transparent sheet is adhered to the canvas’ adhesive-coated area to keep it dust free and prolong its sticky quality
- A hollow-tipped applicator stylus tool (with a detachable comfort grip)
- A craft tray with a ridged bottom and funnel on one end
- A clear plastic jar with a screw top containing two disks of red wax
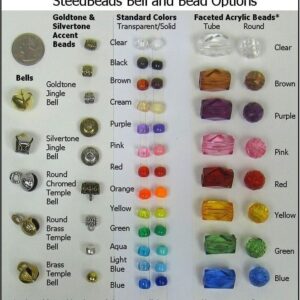
- 31 packets of resin gems, each containing a different color numbered sequentially and labeled with the color’s code number
- A supply of zip-top plastic bags for containing opened gem packets (though there were more packets than provided bags)
- A step-by-step instruction sheet (in both English and French)
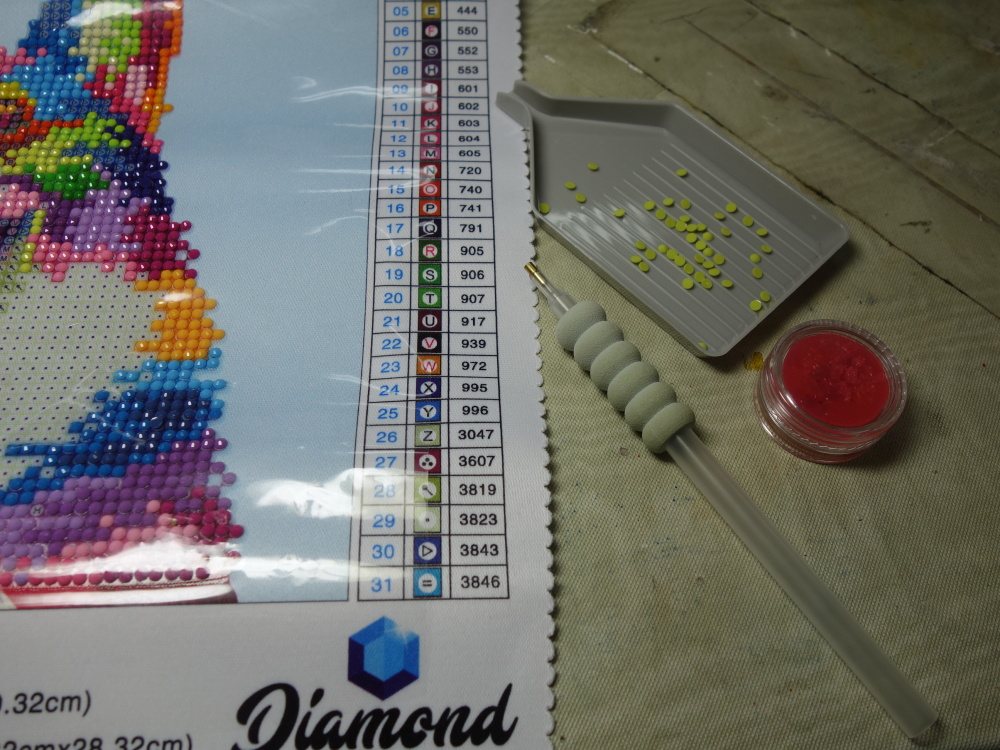
The canvas contained three-column charts along both sides of the graphic containing the gem packets’ sequential number (for this kit), the symbol on the graphic to which that color should be applied, and the manufacturer’s gem color number.
Project Setup
The stylus has a hollow metal tip, that needs to be filled with the red wax to make it sticky. This is achieved by jamming it into the wax until it can’t hold any more wax. The wax jar needs to be resealed to keep the wax sticky.
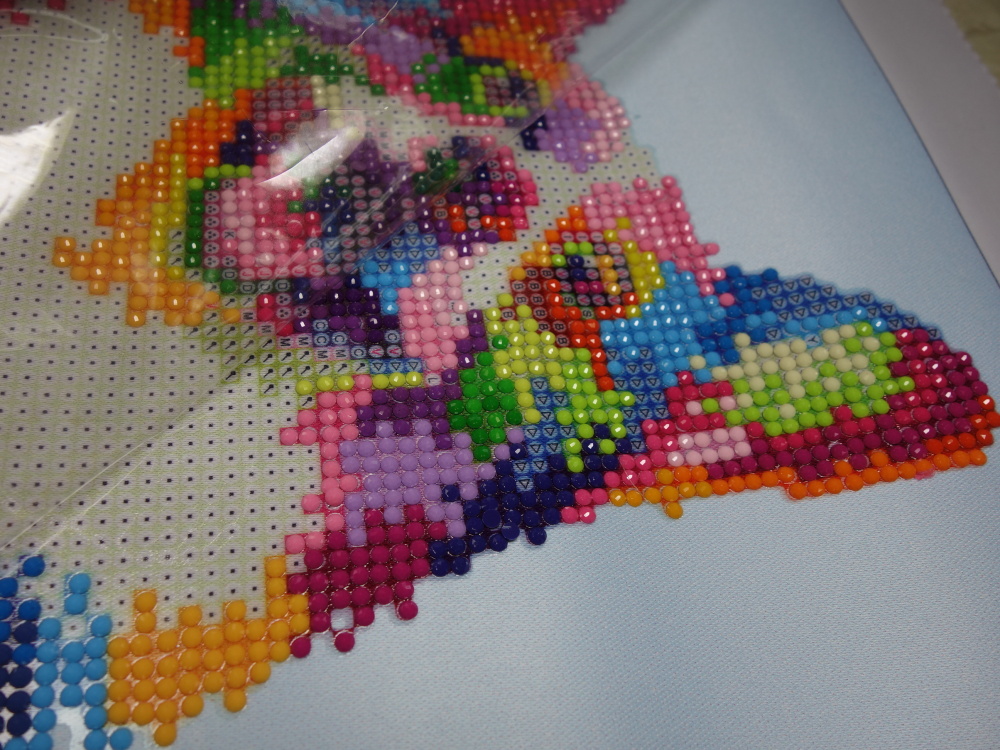
To protect the sticky area of the canvas, the protective clear plastic sheet should be lifted to expose only the area where work is to be started.
Some people recommend taping the canvas to your work surface, but since my canvas was relatively small, I opted to be able to turn it around, as needed. That way I could lift various corners of the plastic sheet to access different areas of the design.
Beginning Work
Using the symbols on the design and the chart on the canvas, decide which color gem to start with. Locate its respective packet and cut it loose from the strip of gem packets.

Cut the gem packet lengthwise and pour some of the gems into the gem tray. There is a dark black line on each packet that seems to indicate where to cut it open so the cut packet will fit into one of the provided zip-top bags. Place the gem packet somewhere so its remaining gems will not spill out. (I put it in a small ramekin to hold it upright.) Shake the tray from side to side to spread out the gems, noting which ones have their faceted sides upward.
Touch the sticky end of the stylus to the faceted side of a gem to pick it up. Then press it into place on its respective symbol on the design. Repeat until you have placed all the gems of that color where they need to be on the design.
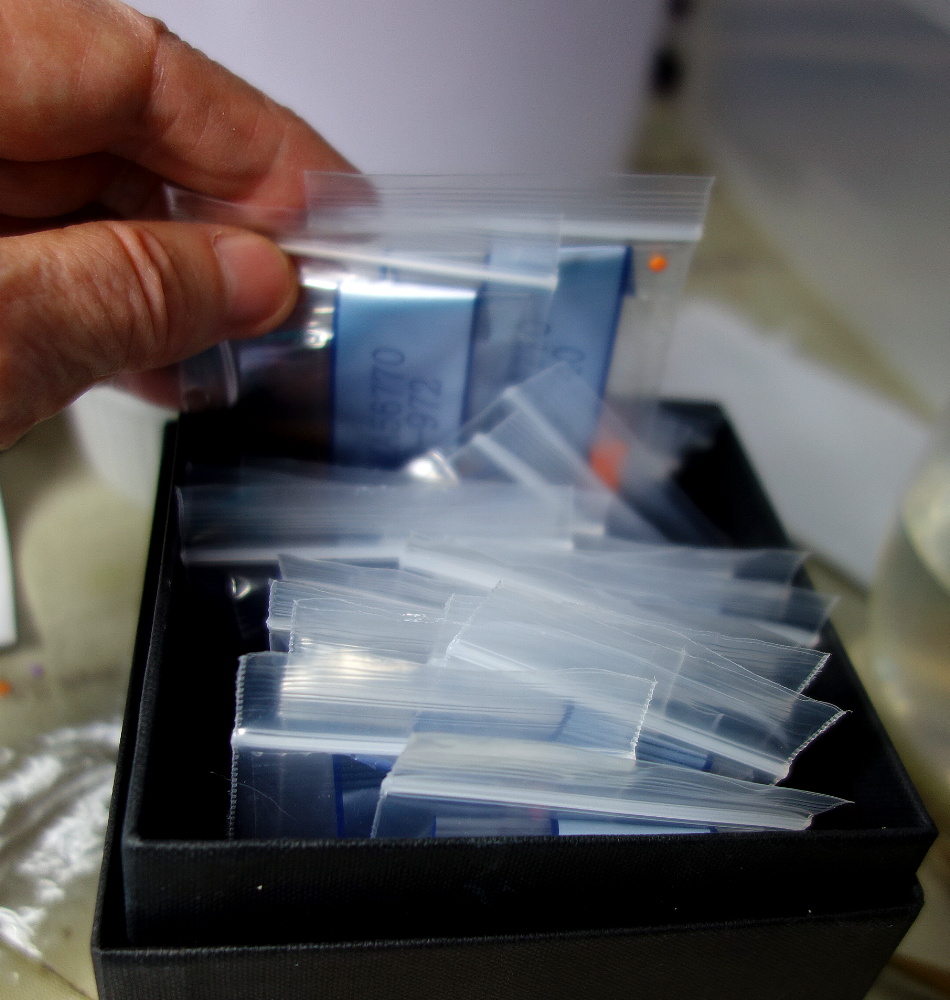
Using the funnel on the gem tray, pour the leftover gems back into their packet and put the packet into a provided zip-top bag with the numbers on the packet visible. Store the gem packets in numerical order for easier retrieval later. I stored mine in a cardboard box.
Repeat this process for each gem color. Then scan the design to find locations that have missing gems. Find those color gems by number in your gem storage box and repeat the process for each missing gem until all coded areas of the design have been filled with gems.
Check the alignment of all the gems and use the stylus to gently push necessary gems into proper alignment with other gems vertically and horizontally. When all gems appear to be in proper position, put the plastic sheet over the design, put a cloth over the plastic sheet (some suggest using a tee shirt type cloth), and use a rolling pin to roll over the fabric layer to firmly seat the gems onto the canvas. Then remove the cloth and plastic sheet and admire the completed project.
To Seal or Not To Seal?
The kit’s instructions did not tell me what to do with my project from this point forward, so I looked on the internet for ideas. This led me to extensive instructions and controversy over what were the best sealers to use and whether sealing was even needed to prevent the gems from popping off the canvas. The instructions do say that you can gently roll the completed design (with the gems facing in) for storage, if desired.
In my opinion, the canvas’ adhesive is not strong enough to protect the gems from falling off if the gem project is subjected to any abrasion or repeated rolling or bending of the canvas. Also, the exposed area of the design (between the gems) contains adhesive, so dust, dirt, and debris would stick to it, if it were unprotected. So if the design is to be used attached to fabric or as a coaster, for example, it will need to be coated with a sealer of some sort.
The most popular sealer is High Gloss Mod Podge (somewhat diluted), which is brushed on the design. The surface of the design is then lightly wiped with a damp cloth to keep the sealer from obscuring the glittery effect of the gems’ facets. The milky Mod Podge then dries clear. Designs sealed in this way become fairly rigid.
Sealed designs may be mounted on stretcher-bar frames, stitched onto cloth, glued to art canvases or purses, etc. Using a spray sealer will not keep the gems from popping off, and some such sprays may reduce the sparkle of the gems.
Some rave about having their diamond art framed by Hobby Lobby, which has a heat sealer machine that somehow warms the back side of the canvas to keep the gems stuck on the canvas without it being otherwise sealed.
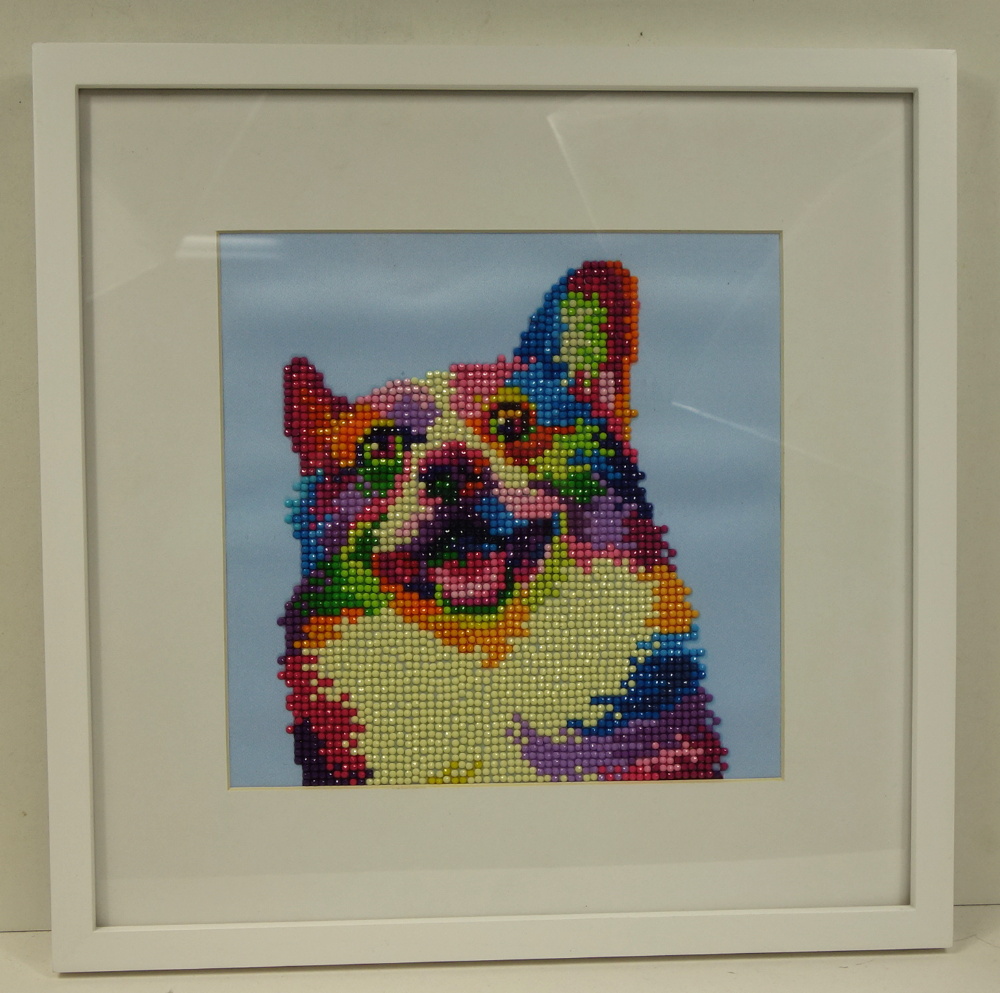
Diamond Art projects framed under glass do not need to be sealed, so I decided on that option.
Lessons Learned
Completing this diamond art project taught me the following:
- Some gems come stuck back-to-back, so when you pick them up on the faceted side and press them into position on the project, they stick, but are higher than surrounding gems. This requires taking them off somehow and either prying them apart or replacing them with single gems. So it is best to watch out for these before accidentally sticking them to the project.
- The wax on the end of the stylus stays sticky for quite awhile.
- I have no idea what to do with all the left-over gems and their zip-top bags. Seems quite a waste of zip-top bags to just toss them all in the trash. Maybe the manufacturer’s color numbers make them usable in other Leisure Arts diamond art kits, but those will also likely have lots of leftover gems.
- The process requires repetitive arm/hand motion that can become tiresome over time. Filling in large areas with the same color gems can be tedious.
- The letters/symbols on the canvas’ design area are quite small; it is hard to tell an O from a Q, for example. This can result in eye strain.
Researching diamond art painting on the internet taught me that:
- There are both round and square gems; both are also called “drills.”
- Round gems are considered easier to place than square ones.
- Square gems require more precision in placement, but rows can wander off track, so a ruler is required to keep them straight.
- Popping square gems into place has the same therapeutic value as popping bubble wrap.
- Gems can be solid, transparent, iridescent, glow-in-the-dark, etc., for variety and accents.
- Kits come in Beginner, Intermediate, and Advanced types.
- Square gem kits typically require gems to fill the full area of the design, to create a mosaic-type look.
- There are better tools available that are more ergonomic, and even tools that allow pickup and placement of multiple gems at a time.
- Custom kits may be purchased to replicate personal photos or artwork, for something truly unique.
- Diamond art painting is considered by some to be relaxing and therapeutic.
- There are diamond art clubs and interest groups that connect on a variety of social media.
Conclusions
Is diamond art for artists, or crafters?
Crafters will enjoy diamond art because it is easy to do and, unlike paint-by-number, success is almost always guaranteed. You don’t have to think. Just follow the instructions, put in the time and effort, and the expected product will be created. Someone else has created the design and put together all the equipment and materials needed to complete the project. The process is repetitive, which, to some crafters, may be therapeutic and pleasant, much like knitting or doing needlepoint. Some also may enjoy the necessary steps, organization, and precision required. The results may be used in various ways to produce other items, besides hangable art. There is an online community of diamond art enthusiasts with whom to share tips, usage ideas, and results. New kits and designs are continually created to meet the desire for new projects. So yes, for crafters, diamond art can be a fun hobby and pastime.
On the other hand, artists, like myself, will be unlikely to embrace diamond art. To an artist, it has the same non-appeal as paint-by-number kits. It requires comparatively much less skill, expertise, experience, imagination, and creativity than creating a unique work of art. The organization, process, and detail involved is daunting to those who are impatient and not detail-oriented. Therefore, most artists will not find diamond art either challenging or interesting. It also requires repetitive eye/hand/arm motion that can take its toll over time.
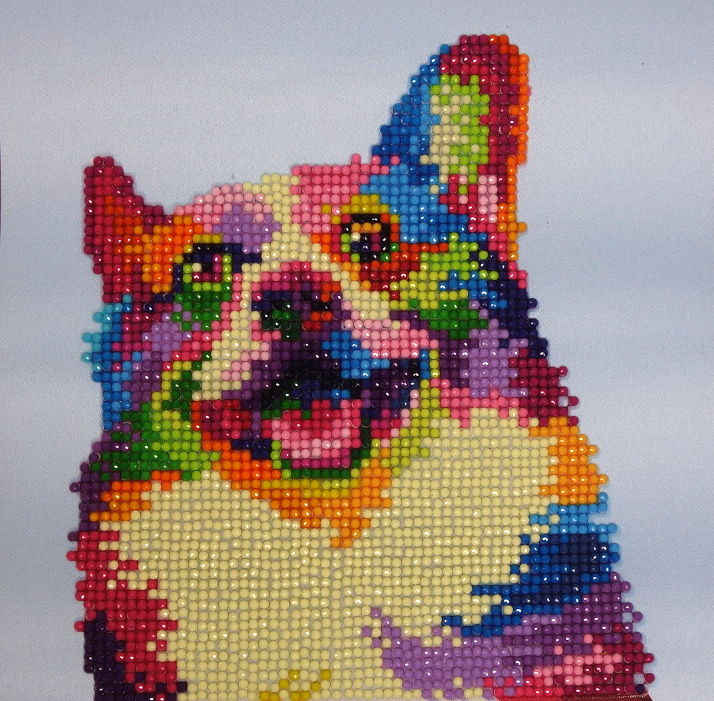
Personally, spending 7-8 hours completing this diamond-art kit has been both educational and interesting. At least the result looks very much like my own Pembroke Welsh Corgi, and I like the almost psychedelic colors and sparkle, so I will frame and hang it in my home. But I know I will never do another one.