


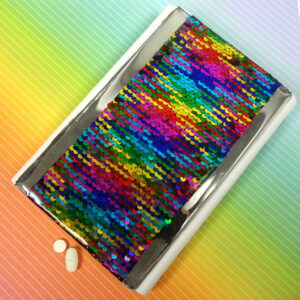


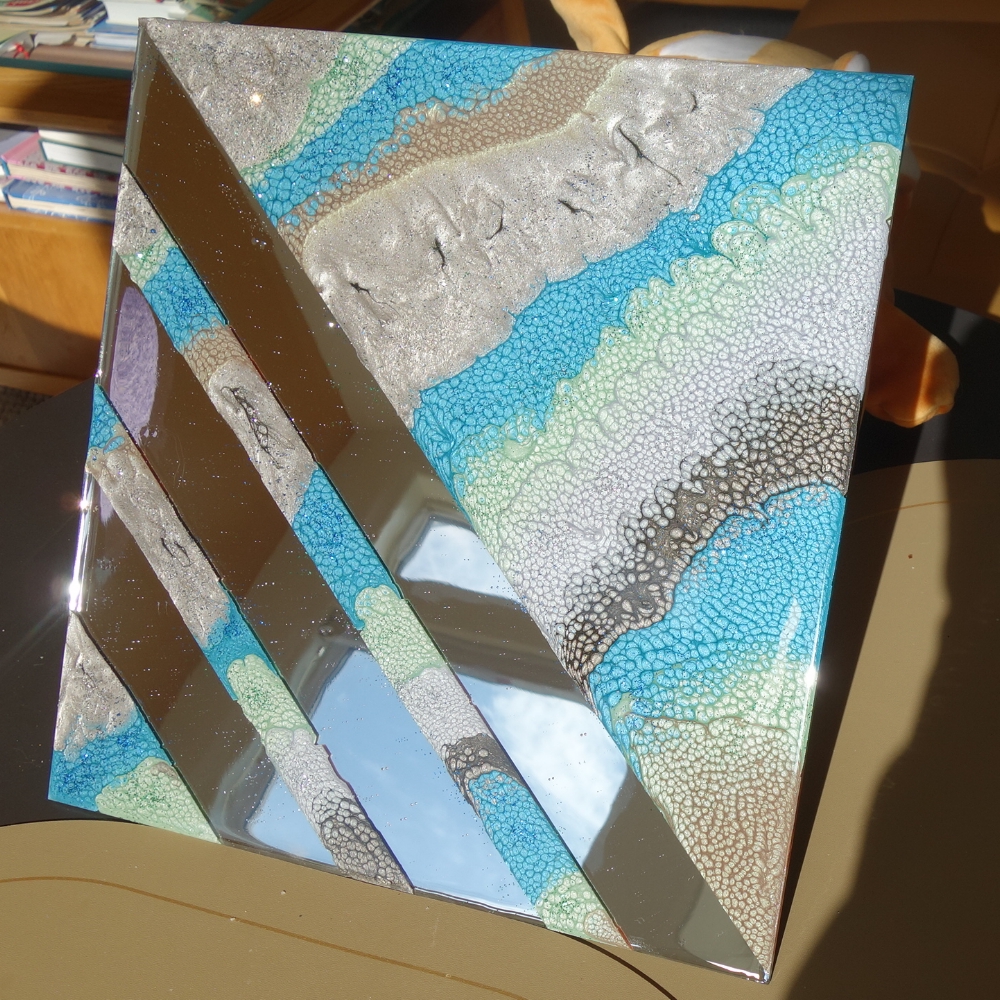
I recently created two works of art using Pebeo fantasy enamels on 12″ x 12″ mirror tiles. I added a layer of glittered resin to enhance the colors and provide surface protection. This post explains the creation process. The results are dazzling in hand, but very difficult to photograph.
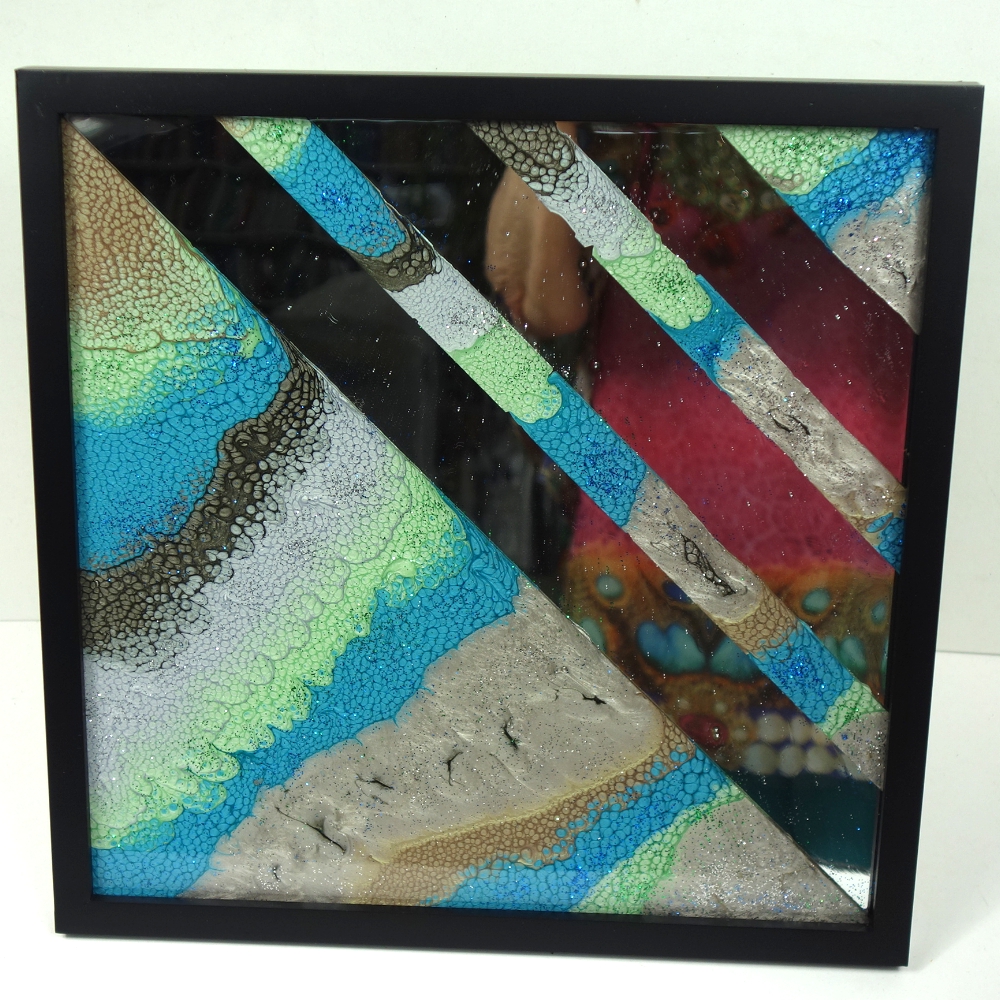
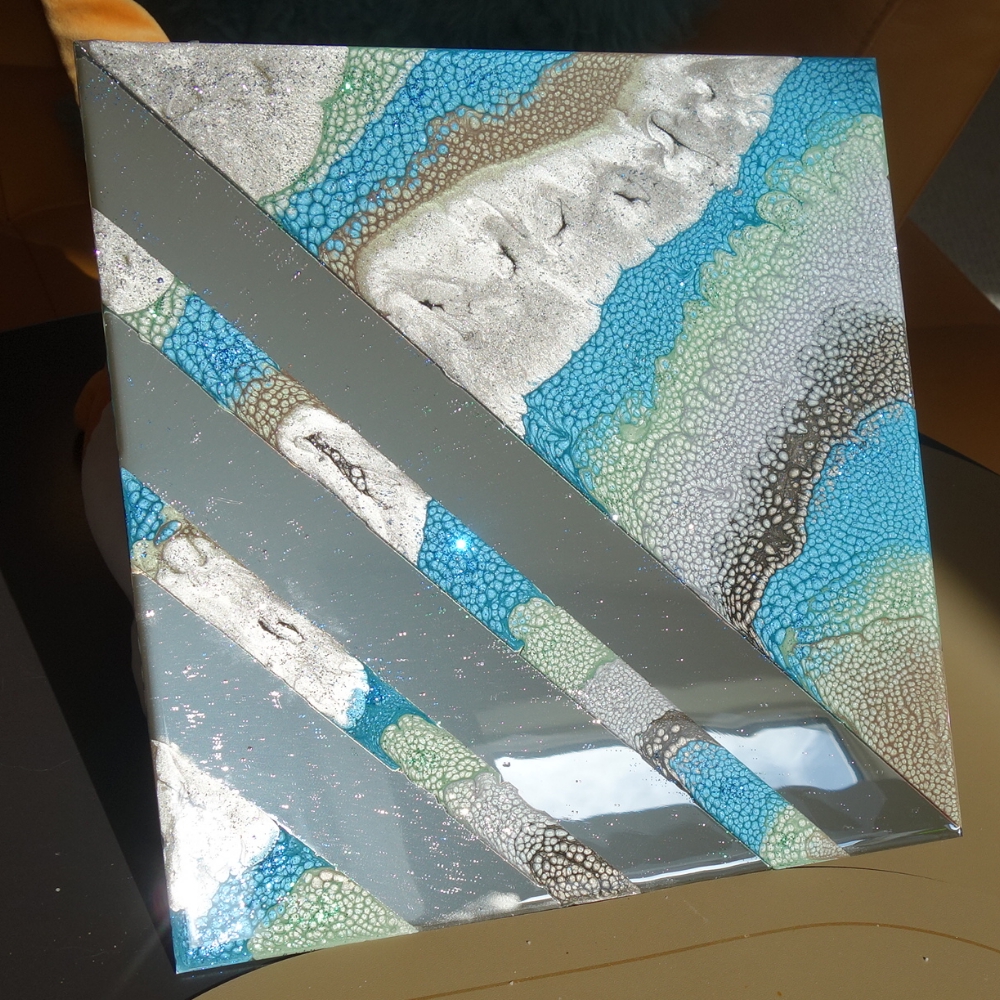
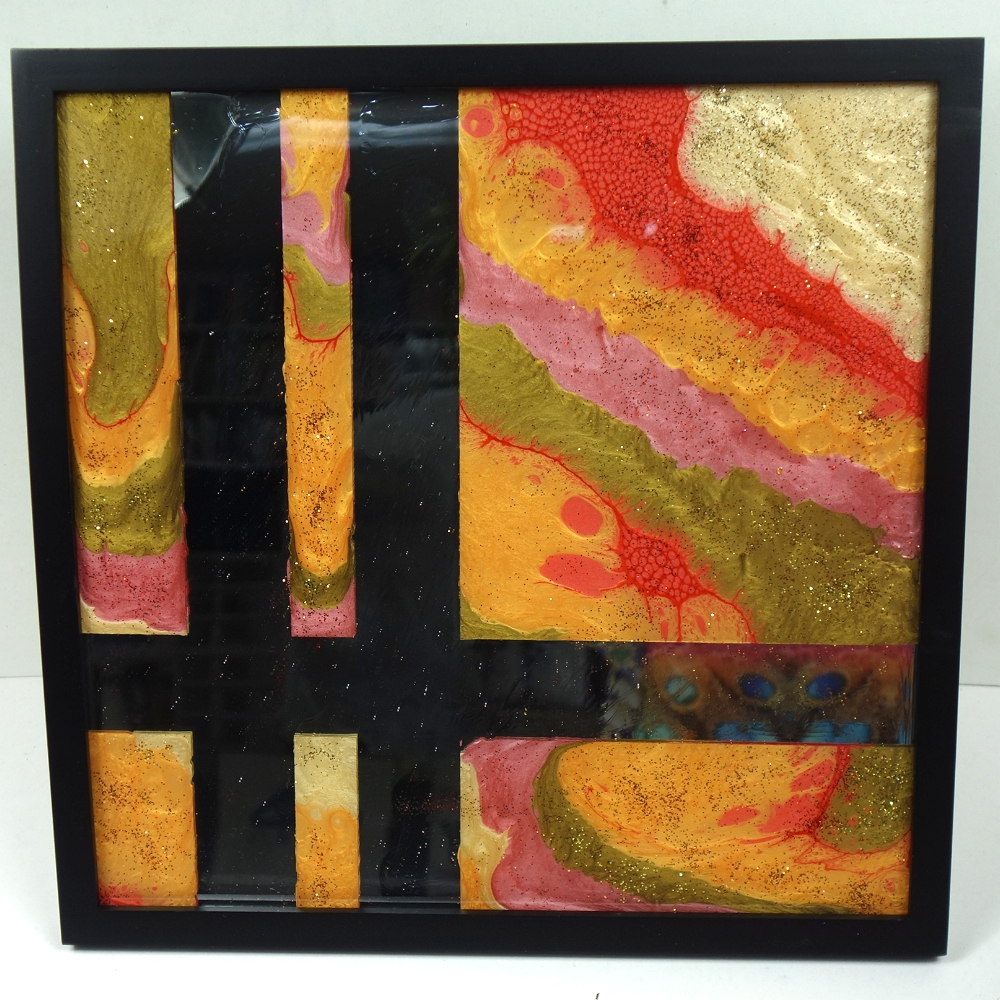 The top work is titled “Sense vs. Sensibility–Ocean,” and the above work is titled “Sense vs. Sensibility–Autumn.” The titles attempt to convey the works’ challenge to apply mirror-striped order to fascinating visual/emotional chaos. Both are currently available on my website and at the Northeastern Nevada Museum Gift Shop in Elko, Nevada.
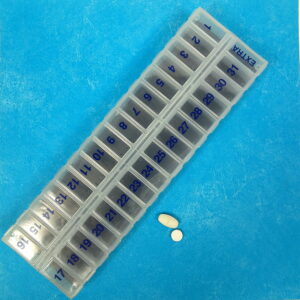
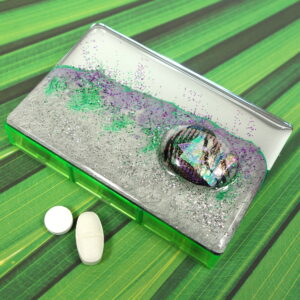
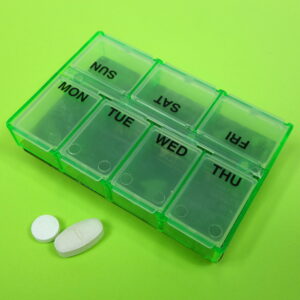
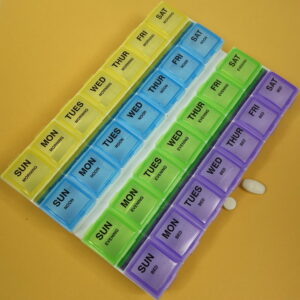
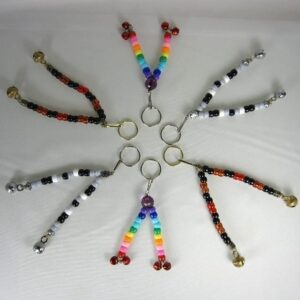
Some of my recent decorative pill organizers feature this same technique on a smaller scale.
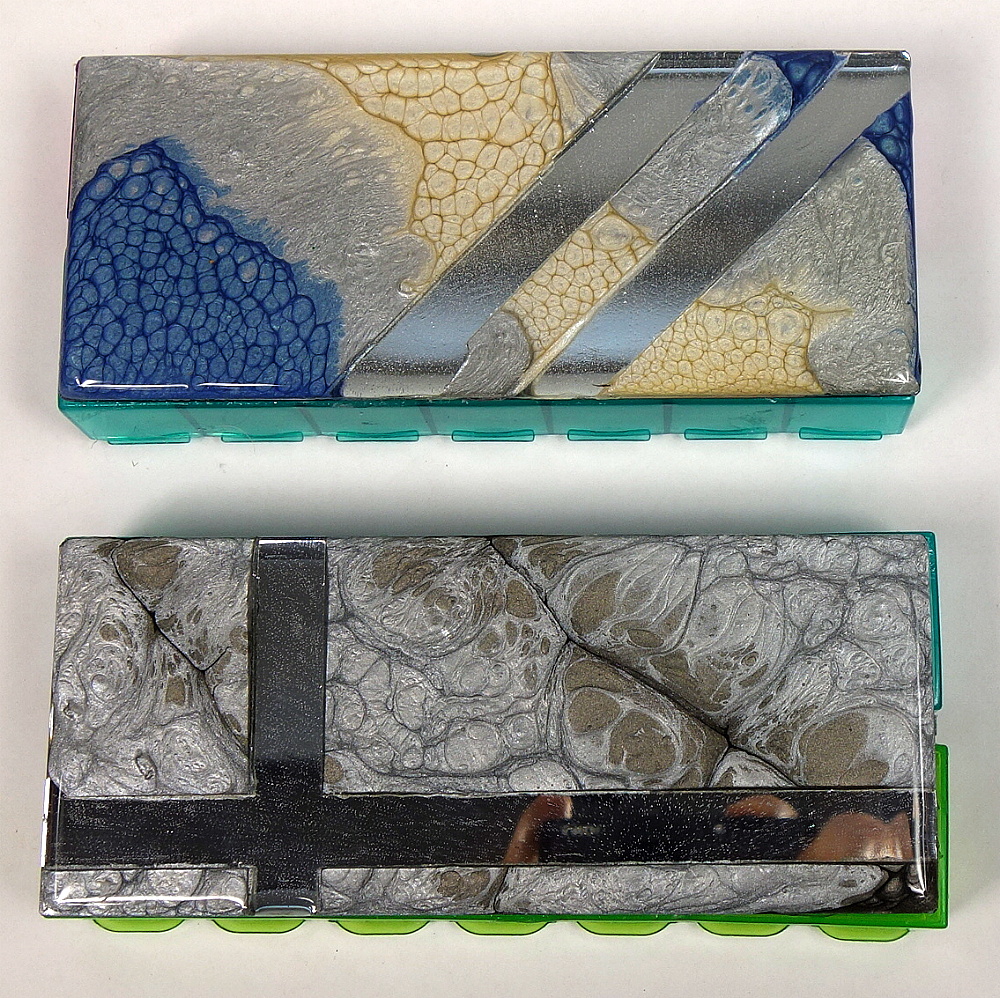
They turned out so well that I wanted to tackle larger mirrored surfaces in the same manner to see what would result.
The Process
To make these creations, I cleaned and positioned two 12″ x 12″ mirror tiles on silicone doming mats, making sure the surface of the mirrors was level. If you don’t have such mats, you could simply put risers, such as overturned plastic cups, under the mirrors to prevent overspilled enamel from creeping under the mirror edge and gluing the mirror to the surface it is sitting on. Put a plastic garbage bag under the cups or doming mats to prevent any overspill from damaging your work surface.
I then put painter’s masking tape on the areas of the mirror that I didn’t want the enamel to cover. I folded the ends of the tapes back on themselves so they wouldn’t stick to my work surface.
Then I applied the Moon and Prisme fantasy enamels with a pipette to the exposed mirrored areas. The Moon enamels produce a hammered effect, while the Prisme enamels produce a honeycomb effect. Alternating these two types of enamels in informal rows produces very interesting results, as they comingle while they cure.
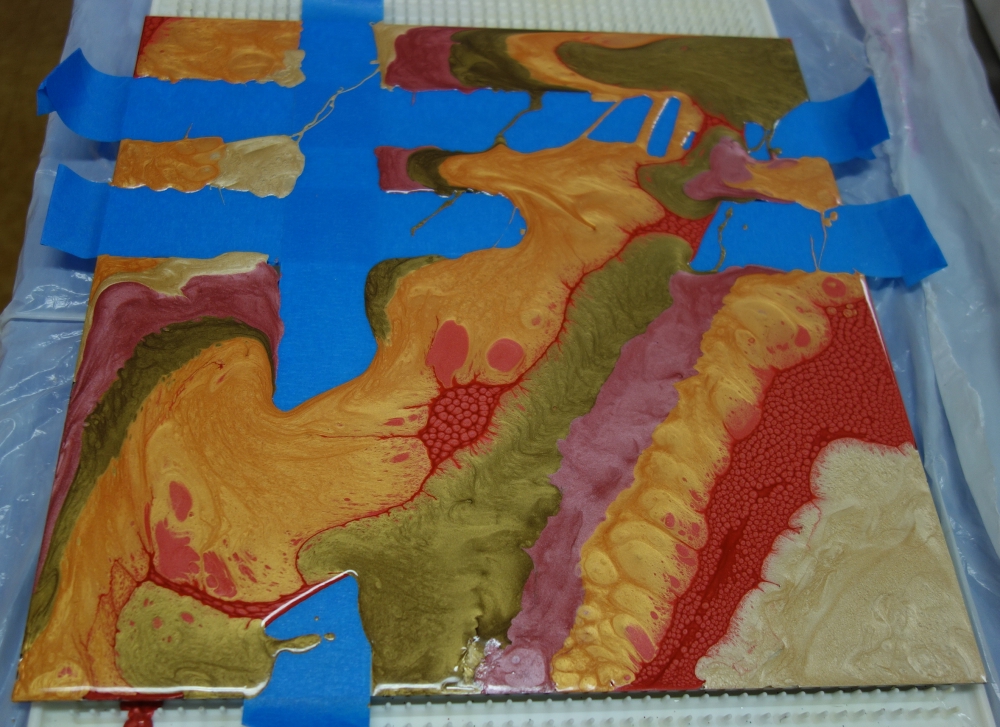
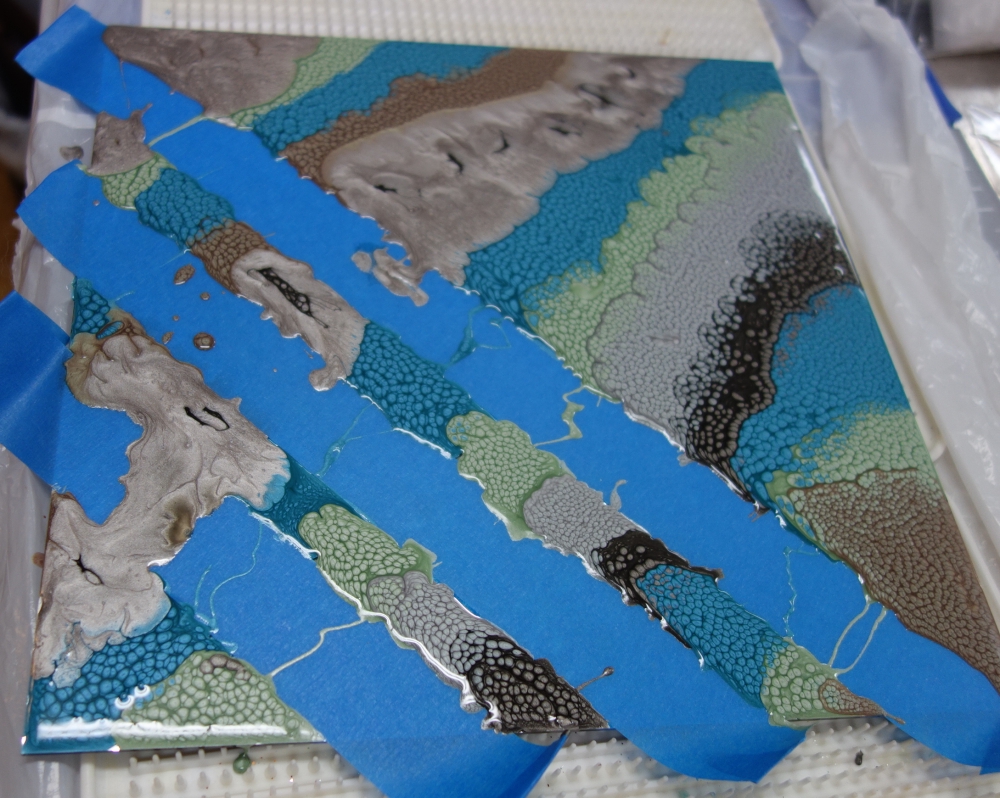
I didn’t waste paint by putting the enamels on the taped areas, but I didn’t worry if paint ran onto or over the tapes. I took care to make sure the enamels domed on the edges of the mirrors.
I then loosely covered the works with cardboard box lids while they cured to protect the surfaces from dust or a curious fly landing on them.
After about 12 hours, the enamels had cured enough so I could pull off the tapes to reveal the mirrored surfaces they had protected. If the enamels are left to fully harden (after 24 hours), they could make removing the tapes more challenging.

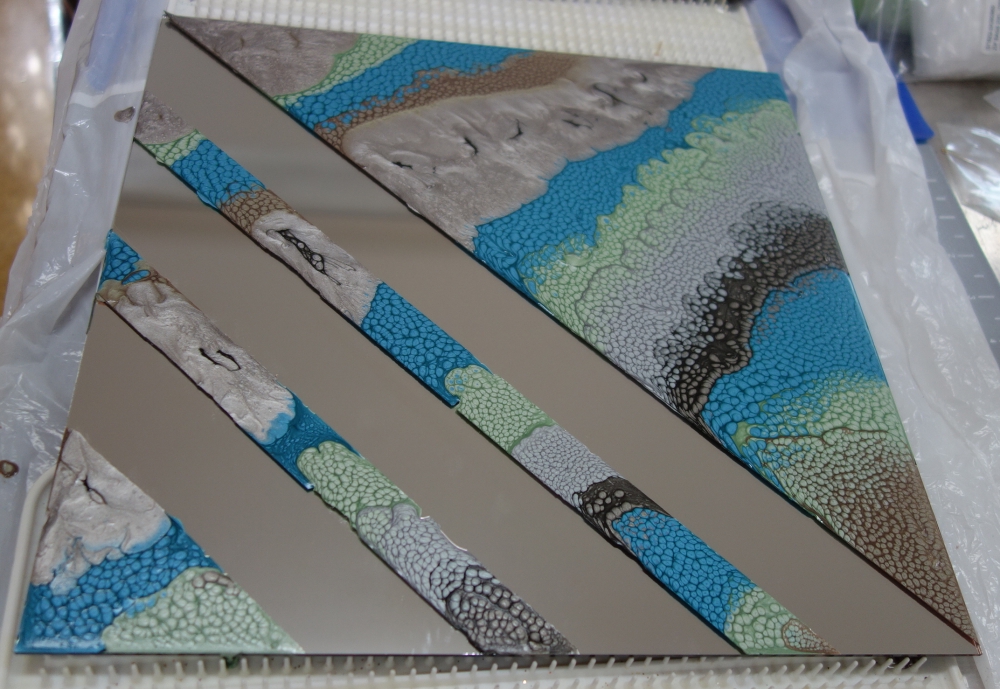
While the enamel was still semi-cured, I used a razor blade to clean up any of the mirrored areas. I also used a razor blade to clean off the edges and back side of the mirrors, where paint had dripped over the edges. Then I left the enameled tiles to cure for at least three days to make sure the enamel was fully dry.
The next step was to make sure the tiles were still level and the mirrored stripes were clean. I used a cotton swab dipped in mineral spirits to remove any smudges or spots of enamel on the mirrored areas, making sure to wipe them clean.
I then strategically sprinkled complementary colored glitters on the enameled areas, avoiding getting glitter on the mirrored stripes. If any glitter got on the striped areas, I swept it off with a soft paint brush.
Next, I donned my safety glasses and appropriate mask for fumes and mixed up Art Resin in two-ounce batches to fully cover the two tiles. Alternating use of two pipettes, I began by putting resin in the mirrored areas only on one of the tiles. Then I added resin to the enameled areas, taking care not to move glitter into areas where it was not wanted. Because the mirrored stripes already had resin in them, adding the rest of the resin was less likely to move glitter into the striped areas.
I repeated this process on the second tile. It took about 5 oz. of resin to cover each tile. Blowing air through a straw on the resin’s surface helped pop stray air bubbles. I also used a toothpick to pull resin to fully dome on the mirrors’ edges, if it was not already doing so.
When the resining was done, I again loosely covered the tiles with box tops, removed my safety glasses and mask, and aired out my work area thoroughly.
The resin was cured sufficiently to handle the next day, so I carefully used a razor knife to remove overspilled resin from the tiles’ edges and back side. I also tried to take some pictures of them in full sunlight, as they were absolutely dazzling to behold.
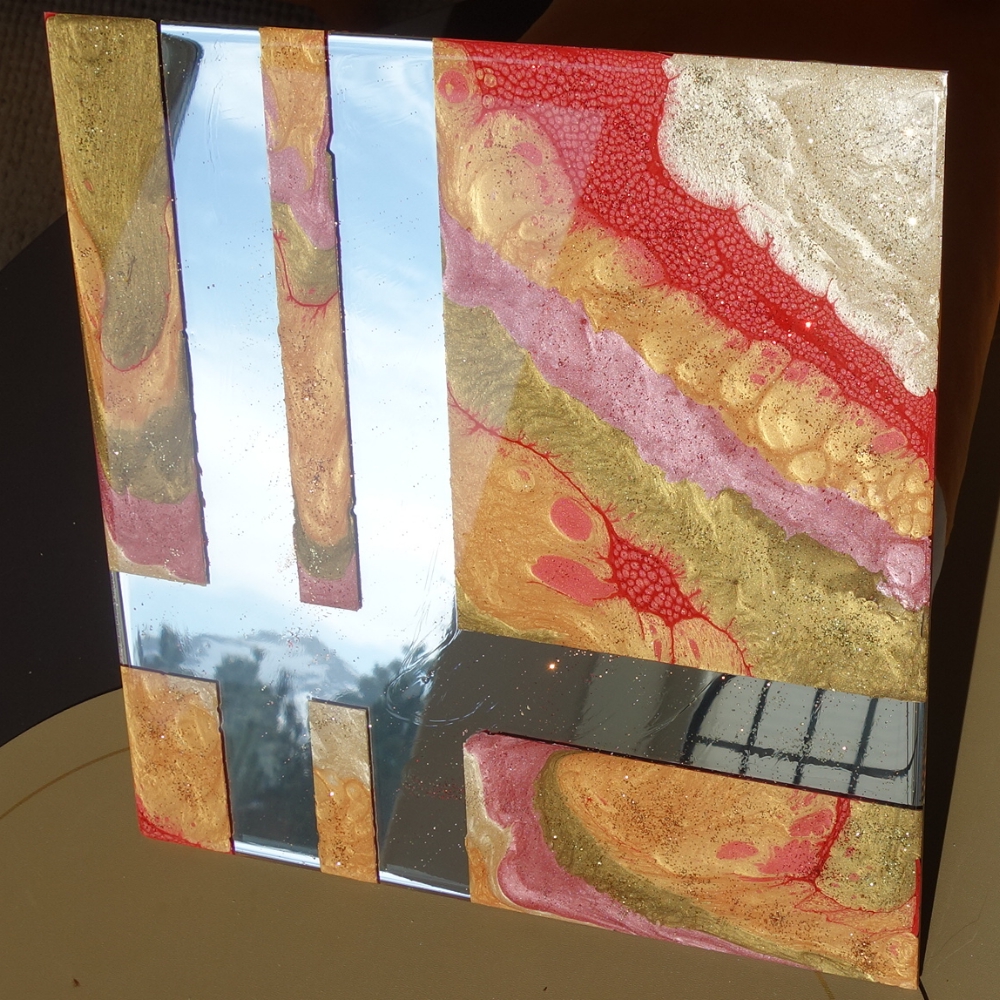

Unfortunately, the photos do not show the beauty the glitter adds to these creations. The works’ full effect also is very hard to capture, due to the mirrored stripes.
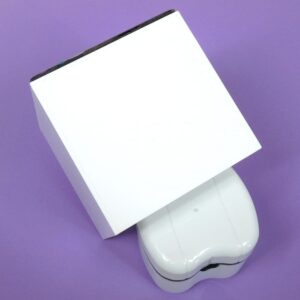
After the resin had cured for at least three days, I popped the completed tiles into ready-made frames with both hanging rings and easel backs.
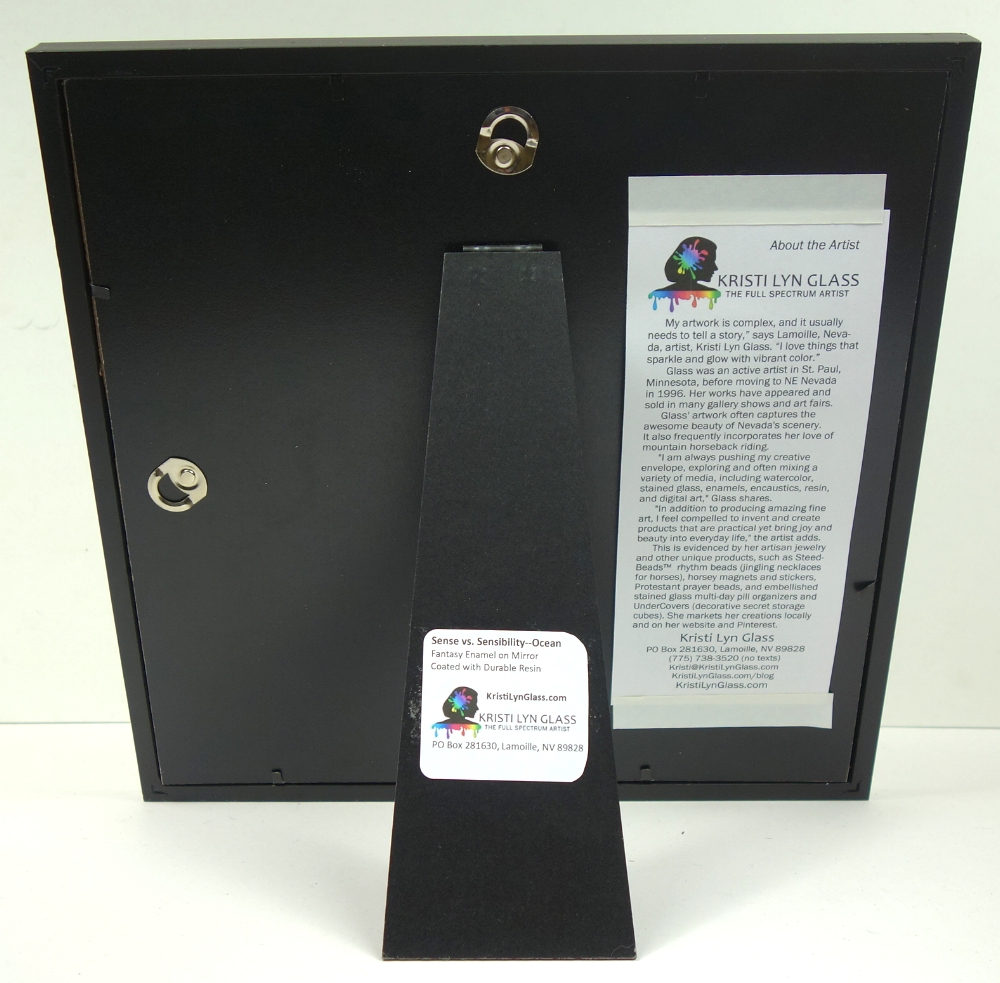
There was no need to frame them under glass, as the resin provides durable protection for the enameled surfaces. They would also make very nice table-top trays.
I’m quite excited about how well these turned out! If either the Ocean or Autumn one appeals to you, I suggest you snap it up fast on my website. Please leave a comment on this post to tell me what you think of them and this technique. I’m always delighted to receive feedback on my creations.